By Faye
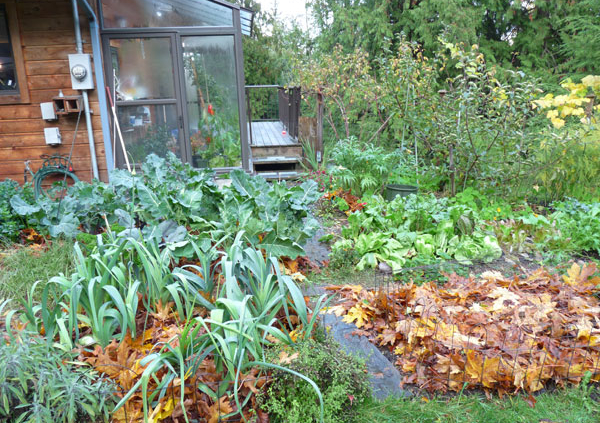
 As the summer vegetable garden becomes a warm and happy memory, and the winter one settles in with hope and promise, it’s time to take a look back at how it all worked. Planning for next year has to start now, as we see what did well, what didn’t, and how can we make it even better?
General observations would have to include the fact that this was one incredible summer! The hot and dry conditions were just what summer crops love, in particular tomatoes! Have you ever seen so many?
What made you happiest in your summer veggie garden this year? Was there something that really worked for you? A new variety or technique perhaps? Did you use containers in a new way? We’d love to hear from you! Growing food is so rewarding, and sharing the knowledge as well as the produce makes it even better.
TOMATOES
Best lesson learned: I was a little more vigilant with pruning, kept vining ones to a single stem, and found that I did get more tomatoes, and they were larger and ripened faster. See previous paragraph, however! I grew most in raised beds, but some were in 7 gallon pots, and 2’ square cedar planters. Brian used our Grow Bags and fertilized weekly with the Orgunique 15-3-11 and he had astounding results in a smaller space than I used.
I put a regular aspirin in each planting hole, which is supposed to give more flowers, and hence more tomatoes. I also fertilized more often this year with a variety of the Orgunique fertilizers; also seaweed, compost tea, and liquid fish. So was it the heat, the fert, or was it the aspirin? I had huge yields, as did most people this summer. Sue did very little of the above and still had good results!
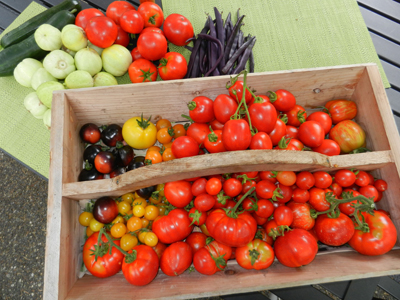
Tomato harvest in August
Favourite Varieties
We are fortunate to hear lots of feedback from our customers and fellow growers, who give us hints as to what to order for next year. Cherry tomatoes are always popular; they ripen well in our climate, they’re great for snacking, and there are so many good recipes for cherry tomatoes both raw and cooked.
Did you know that Sweet Million is an improved version of the old favourite Sweet One Hundred? Best orange cherry would be Sun Sugar or Sun Gold.
One red cherry that has surprised us with its popularity would be Tumbler. This is hugely productive, on hanging stems; grow in a container well off the ground or in a hanging basket. Very delicious fruit.
We also grew Red Robin from seed, and it had good production of tasty tomatoes on a very small plant, but the leaves seemed to get ratty rather quickly.
Gold nugget would be our best determinate yellow cherry and Yellow Pear is a vining variety that many people ask for every year.
For a regular slicing tomato, there are many good ones, including Siletz, Early Girl Vining, Mortgage Lifter and several others. For a slightly smaller one, good for roasting, Juliet is often highly recommended. Best yellow slicing tomato was a new one for us this year; Lemon Boy was the first yellow tomato on the market, and it’s still one of the best. Large, round fruit with very complex flavor, they are a bit slow to ripen but well worth the wait. I will definitely order more of these for the nursery next year.
The whole concept of grafted vegetables is taking root, and there are more varieties available. This year, Indigo Rose was a star for us, and Helen Chesnut wrote glowingly about it as well. With copious quantities of dark purplish black fruit, on a determinate plant, which actually ripened in this hot summer; it’s known to be slow to ripen. The hard part is telling when they are ripe; don’t pick until the tomato bottoms turn red.
Black Krim was large and very very good tasting; an heirloom variety, with a somewhat smokey and salty flavor.
The grafted Beefsteak were underwhelming;not only were they not very big, but they became pitted all over after only one rain near the end of summer.
My greenhouse is very small, so all of my tomatoes but one were grown outside. Brian had a big crop in his larger greenhouse, grown vertically on single stems, and were very impressive indeed. We didn’t always agree on which were the best tasting, showing that each growing situation is different, and flavours will be affected by soil, warmth, water, and how nicely you talk to them.
CUCUMBERS
Best lesson learned: I’ve now figured out how to extend the cucumber season. I seed them in the house, under lights, on April 15, and when they were ready put some in the greenhouse and some outside in the raised bed, on a teepee of bamboo stakes. The greenhouse crop finished weeks ago, but it’s early October now and I’m still picking the outside crop!
Almost everyone I asked said their favourite cuke this summer was Sweet Success. This variety is parthenocarpic, meaning it doesn’t need pollination, so every flower will produce a cucumber. This is important if you are growing in a greenhouse, as there may not be many bees inside. Long, crisp, and delicious, each cuke measured up to 10”, and never bitter. Tasty Green is almost all female flowers, and a heavy producer too.
Sue loves the spiral stakes for supporting these vigorous plants. (pic of Sue’s cukes on spiral stakes)
Lemon Cucumber is also a favourite of mine that I never want to be without. Round like a lemon, it’s always sweet and very juicy. While I always grow my cucumbers vertically, the Lemon ones seem to be a bit of a blowsy crop, so next year I’ll use a grow bag or pot on the bench in the greenhouse and let them just flow along horizontally.
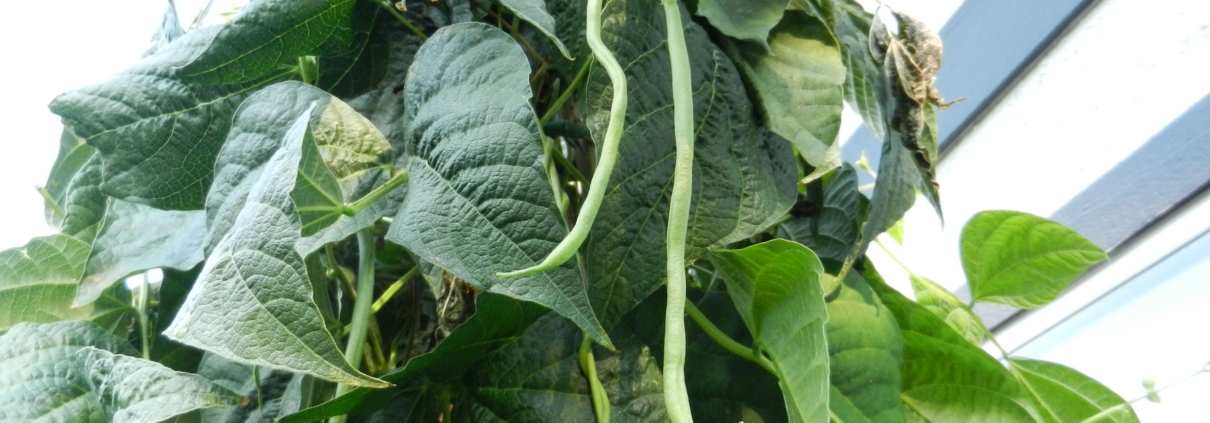
BEANS
Pole beans give more beans for a longer period, and growing vertically, they take up less space. This year, as always, my favourite was Fortex, followed by Purple Peacock. Sue found that the Purple Peacock sneaks up on you; if you turn your back it can grow too large in about 30 minutes, so plan accordingly. I gave mine regular doses of compost tea, and would have produced a fall crop, were it not for Mr. Rabbit who chewed the stems off at 8” high, thereby killing off the entire crop. I’m feeling like Peter Rabbit’s Farmer McGregor!!
Best lesson learned with beans? Net them from the rabbit, and feed regularly.
For the first time I also grew some bush beans, from a friend’s heirloom Italian seed. I had no room left in the beds so used a very large pot, and they were surprisingly successful, although somewhat crowded.
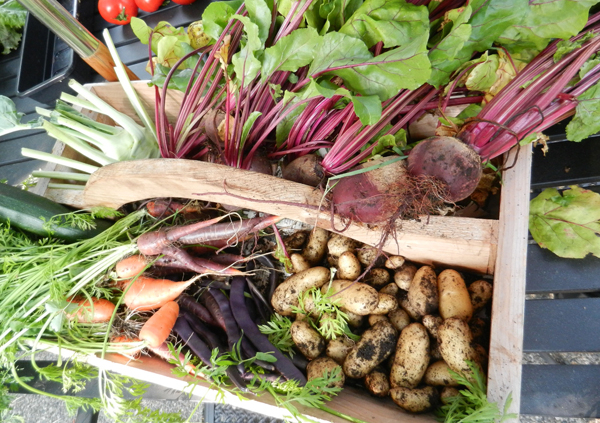
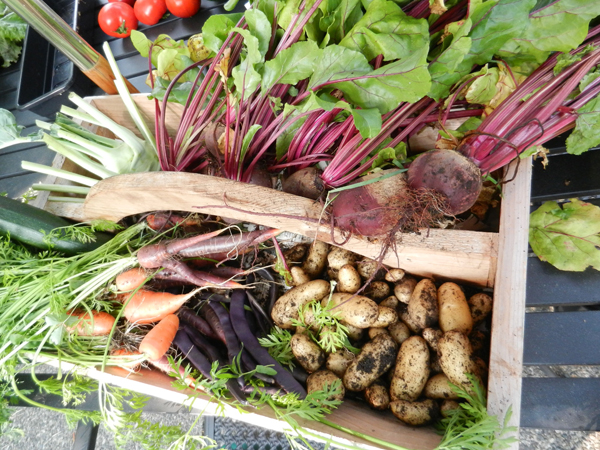
POTATOES are my other surprising container crop, I’ve done this for 3 years now; layered compost and straw in the pots and planted Banana potatoes, a small gourmet type. Just dump out onto a tarp at the end of summer, and enjoy. The compost and straw have by then broken down, so I have marvelous new soil to use for other things, such as planting the winter crops in raised beds.
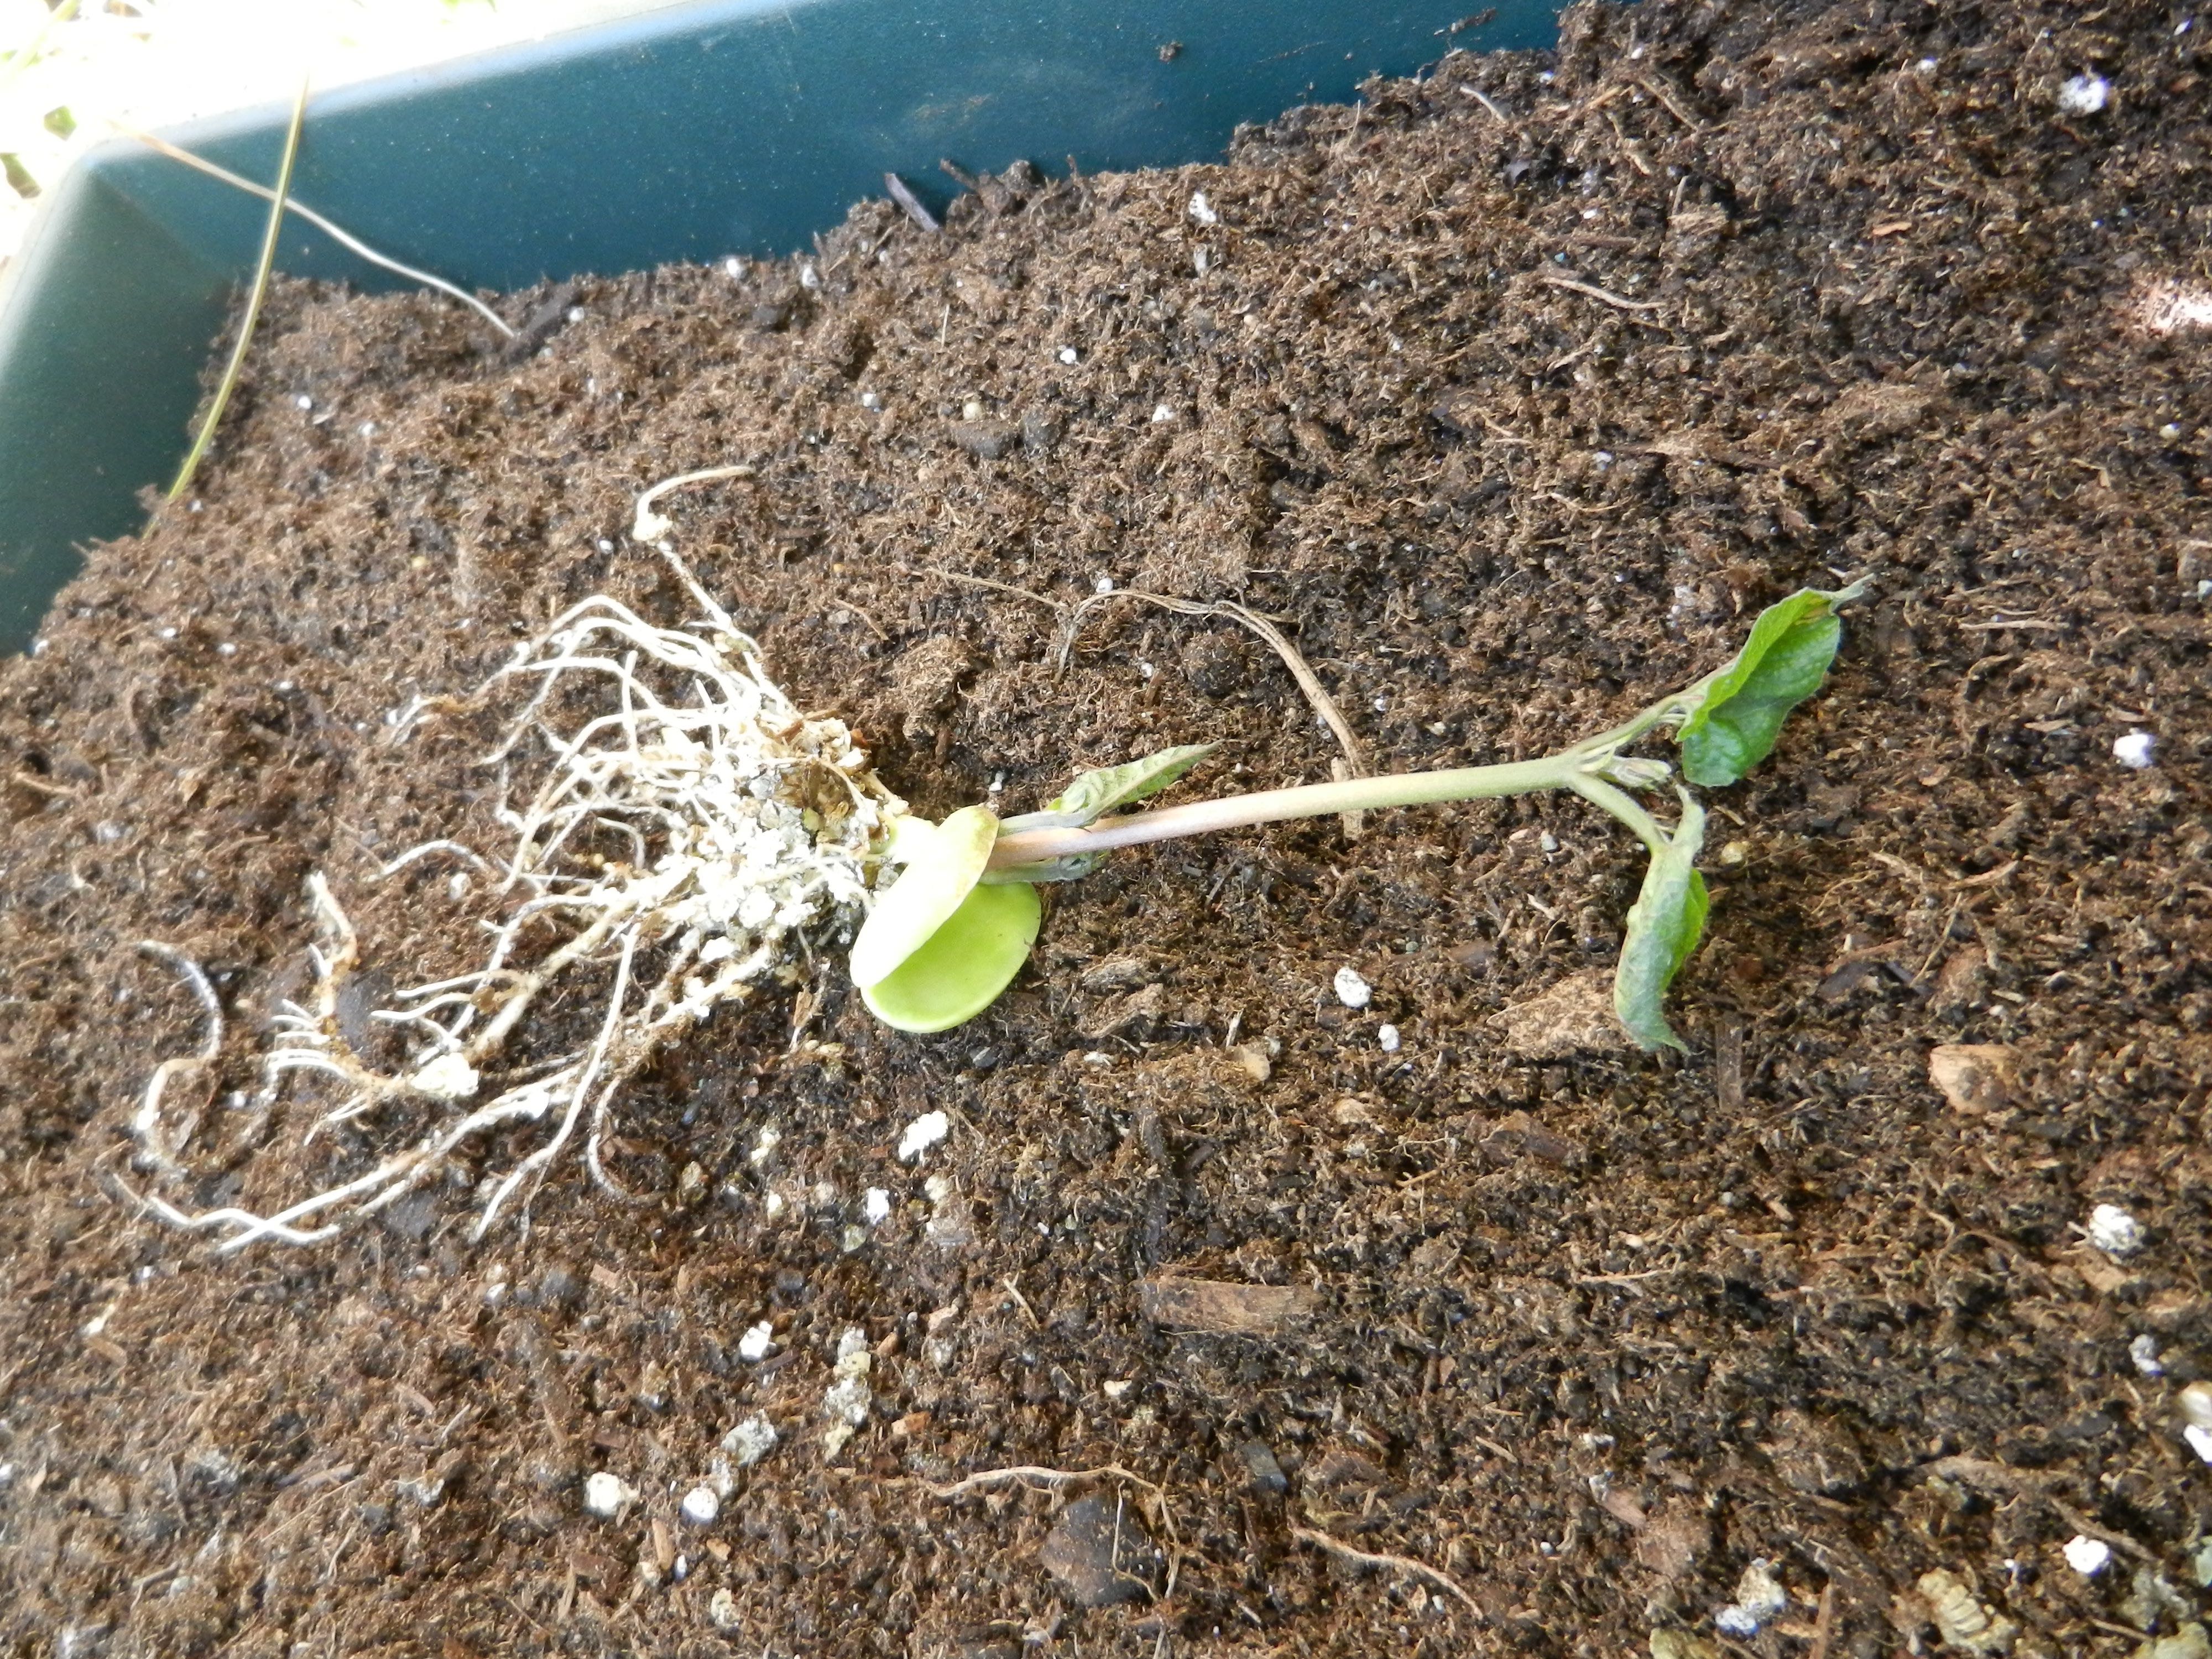
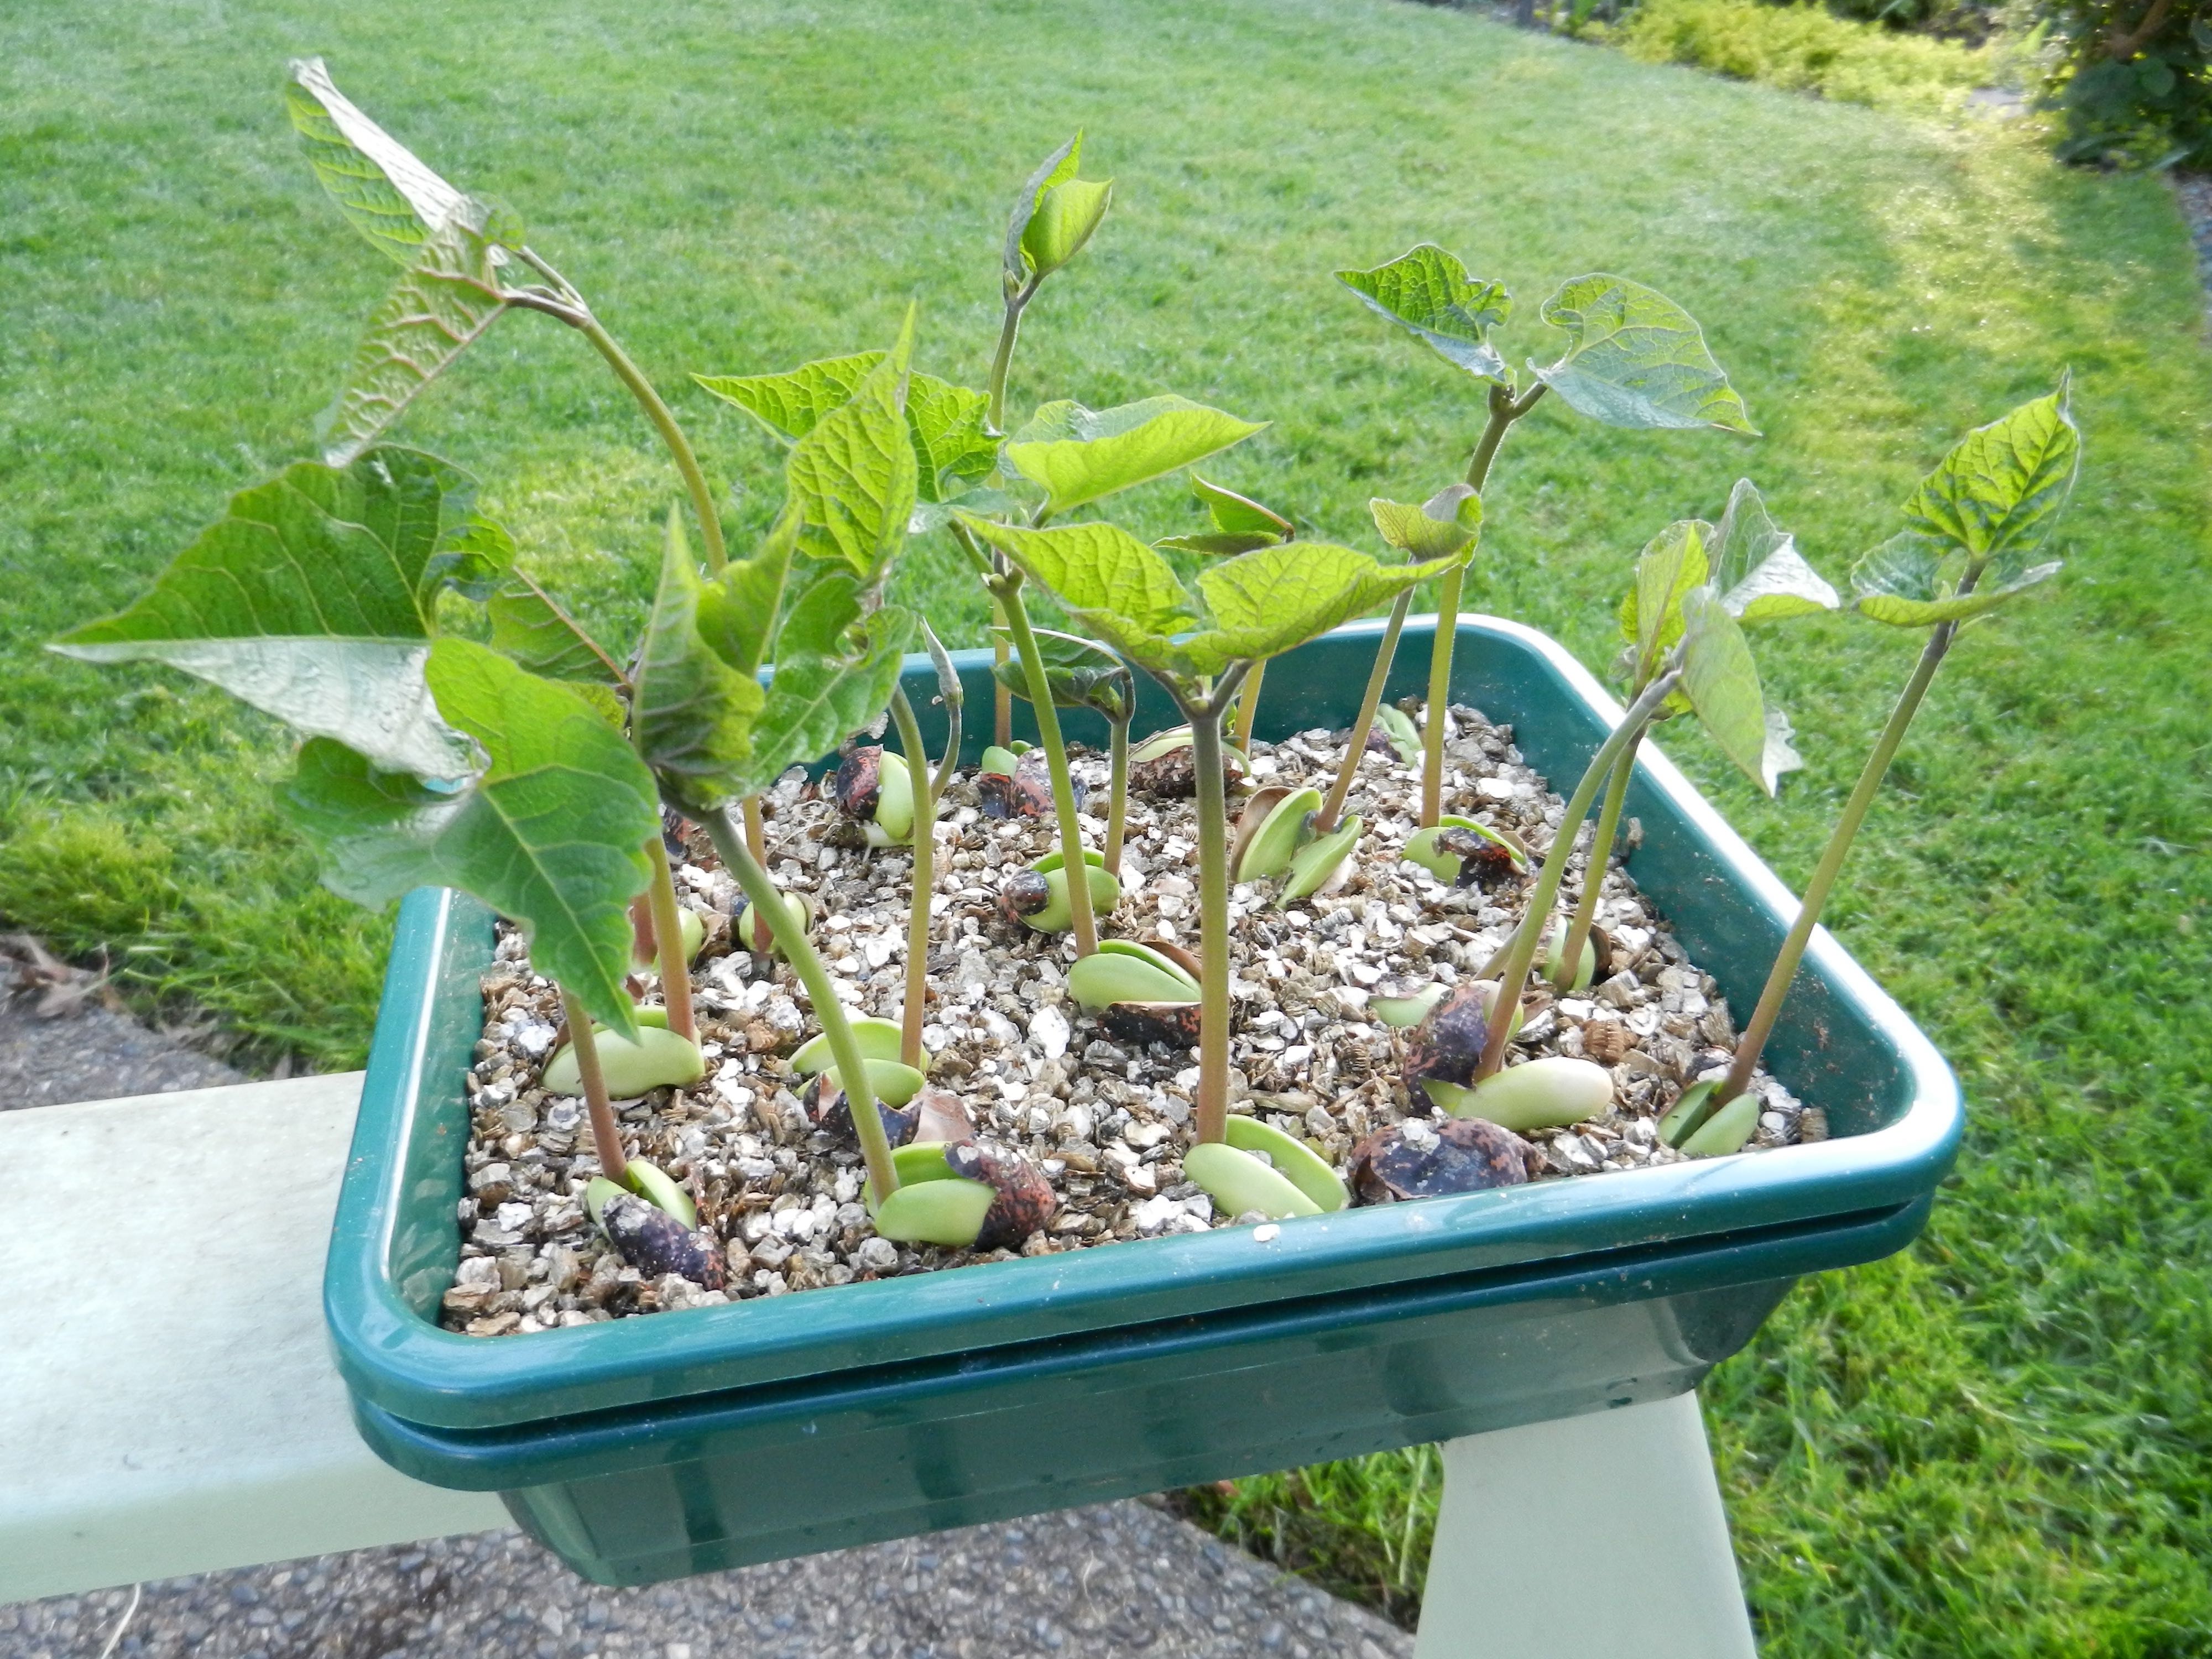
PEAS
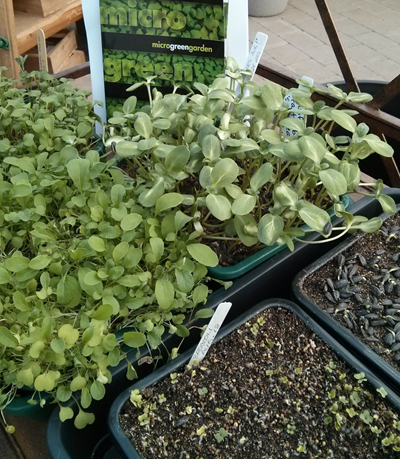
Again this year, I started all my peas and beans inside, in vermiculite on March 13, and will never again direct sow. Starting in vermiculite gives 100% germination, and no critters steal the show. For further info on starting in vermiculite see Peas in Particular. My default varieties for peas are Tall Telephone and Sugar Snap Pole. I had peas 7’ tall by May 29, and they were loaded with pods.
BEETS
Oh how we love beets, roasted in foil in the oven.
Direct seeded into the ground on May 2, this year I grew Early Wonder Tall Top, and Touchstone Gold.
I generally do well with beets in my raised beds, but the Touchstone Gold have been a disappointment; poor germination and small beets. I seeded Cylindra for winter, after hearing Brian’s glowing reports in the summer. The EWTT variety produced excellent beets, but this year has been a terrible year for leaf miners, so the leaves are badly damaged. I should have netted them with ProTecNet, and will certainly do this next year.
ZUCCHINI
Once again, Partenon is the star zucchini, as it doesn’t require pollination and therefore each flower becomes a fruit (yes, zuke is a fruit, as the part that we eat comes from the flower). No need to hope that a male flower and a female flower appear on the same day, and a bee happens along. I grew them (2 plants only!) in large pots, and mulched the soil to keep it warm and moist.
CARROTS
I thought I could sneak past the carrot rust fly, by planting in a lower area of the garden, with the beets. Leaf miners got the beet leaves, and only a couple of carrots were damaged by the rust fly, but even those two have reminded me of the importance of prevention when it comes to pests. Favourite carrot? Purple Haze, although Brian found them prone to splitting.
Disappointment? Nantes. These are short and stubby, and perhaps if your soil isn’t deep and friable this is the only carrot you can grow, but for me I’d rather have a long tapered style.
LEEKS are the first crop to start the season and the last one harvested; we get the starts in March, and they grow all spring and summer, and those that are hardy, such as Bandit, will continue on through the following winter. These are well worth the space in your garden, always a winner. I started mine from seed on March 6, getting them going on a heat mat. I moved them to the unheated greenhouse on March 30, then into the ground in April. Very few pests, I’ve even grown them in the front yard in Deer Country, but your own herd of deer may be hungrier than mine. Be careful about growing them with garlic; last year garlic rust descended upon me, and infected my leeks as well. We have noticed that some of our leeks are going to seed and wonder if it might be caused by drought stress??
It seems that more and more of us are growing our own food these days; what a lovely way to while away the hours in the summer sunshine, and enjoy all that healthy food as a reward.