By Laurie

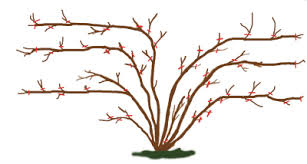
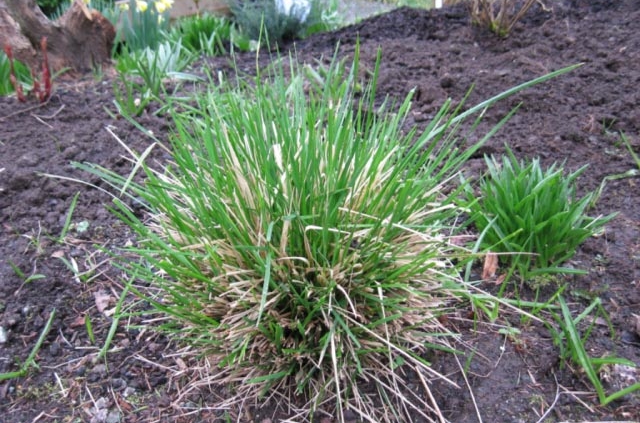
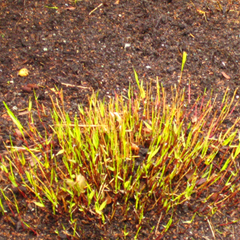
Deschampsia cespitosa that was cut back in early spring
Caring for Ornamental Grasses
Customers at the nursery are often asking about how to care for ornamental grasses. It can get confusing. Grasses don’t ask for much in terms of maintenance, but most do require cutting back and some need periodic division. This article summarizes when and how to do both. A basic rule of ornamental grass maintenance is to leave them standing over winter, and don’t mess with them until they are actively growing in early to late spring. Whether you are cutting back or dividing, it is generally best to wait until spring.
Cutting Back
Most of grass grooming involves cutting back, and when and how to cut back depends on the type of grass you have. Grasses are either cool season (temperate), warm season (tropical) or evergreen, and the rules change slightly for each.
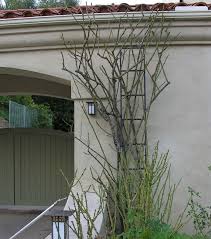
Hakonechloa sprouting after being sheared back
When to cut back cool season grasses
These grasses grow in cooler weather (spring and fall) and they are the first ones to cut back in early spring. They can be cut back to about 1-3 inches after temperatures rise above freezing. In Victoria gardens this usually means mid-March, when the new growth is visible.
Deciduous cool season grasses to cut back at this time include Calamagrostis, Carex elata ‘Bowles Golden’, Deschampsia, Elymus, Millium, and Molinia. Hakonechloa, Chasmanthium and Imperata ‘Red Baron’ can also be cut back in early spring. (The latter are warm season grasses, but they start to grow early, in cooler temperatures.) Any broken flowering stems may be cut back within the foliage clump at any time (Calamagrostis, Stipa gigantea…).
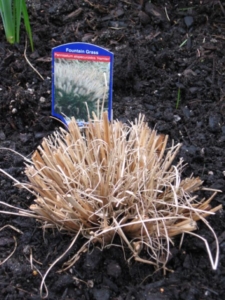
Pennisetum ‘Hamlin’ – a warm season grass. Cut back to 3″ in late spring after frost has passed, for that hedgehog look!
When to cut back warm season grasses
These grasses generally need warmth to grow (at least 20° C). So it is best to cut them back in late spring, after any threat of frost has passed, just as the new growth starts to show. Don’t wait too long to do this to avoid cutting the tips of the new growth with the old. Leaving the old foliage up too long can also delay the crown’s warming and growth by several weeks. All those lovely grasses that provided much appreciated buff-coloured winter structure in the garden need to be cut back to about 3 inches from the ground.
Warm season grasses needing this late spring hair cut include Miscanthus, Muhlenbergia, Pennisetum, Panicum Spartina, Schizacrium, Arundo and Cortaderia.
It should be noted that some of these warm season grasses have better winter presence than others, and if you prefer a tidier look to your garden you may also cut back warm season grasses any time after they have gone brown in late fall.
How to Cut back
Shorter grasses look best when given a more rounded cut, rather than straight across. This ‘hedgehog’ cut will make for a more natural look when cropped, as well when the grasses grow back in. Taller grasses may be cut straight across. Their cropping is hardly noticed because of their robust growth.

Miscanthus cut flat in late spring
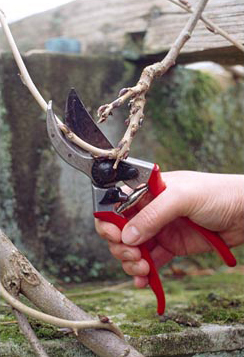
Handy tools for cutting grasses include gloves, a bungie cord for bundling, a rake and tarp for gathering, and good hand pruners or shears for cutting. The larger grasses could require an electric saw or hedge shears and don’t forget to wear your gloves. Bundling the grasses with a bungie cord before cutting can simplify clean up. The narrow leafed Miscanthus varieties can be cut nicely with secateurs, starting from the outside and cutting back small sections at a time.

Carex comans (evergreen sedge) cut back by two thirds in spring
Grooming of Evergreen grasses
There are a few cool season grasses that remain evergreen to semi-evergreen in our milder climate. For the most part the only grooming they need is combing. Fescue, Helictotrichon (Blue Oat), Stipas and many Carex sedges (not a true grass), usually refresh from a simple comb through with fingers wearing rubber (catches the blades) golves or rake to remove the dead buff foliage which easily separates from the new growth in spring. Raking can also be repeated in summer to remove spent flowering stems.
Sometimes some evergreen grasses start to look shabby after a few years or harsh winter and may actually require a more drastic cutting back of all the old growth. The recommended time to do this is when the threat of frost has passed in April. This is when they are actively growing, but before there is a lot of new fresh growth. And never shear these grasses too low to the base; always leave about one third of the foliage in place.
Occasional cutting back to refresh a sad looking evergreen or semi-evergreen grass can be done in late spring on Luzula, Stipas, Anemanthele lessoniana (Pheasants Tail) and narrow leafed Carex sedges. Nassella tennuissima (Mexican feather grass) can be cut back in September to refresh green growth.
Dividing Grasses
Timing of when to divide grasses is important for successful root establishment. As a rule, all ornamental grasses should only be divided when they are actively growing and not dormant, and never while they are flowering. For cool season grasses this means spring, and for warm season grasses it is best to wait until late spring or early summer. Smaller grasses are divided just like any other perennial. Dig up the clump and then pry apart with your hands or cut with a knife or trowel. Replant them before the roots dry out.
When grass clumps get too wide or full for their space it is time to divide and replant. After several years the centre of some of the grasses can die back and it is good to replant the fresher new growth from the outer edge of the clump. Once these fresher pieces have been removed from the clump, trim off any dead material and replant, remembering to water thoroughly. New grass divisions require frequent watering until they become rooted and established.
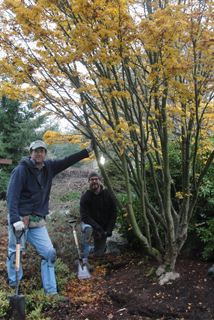
Larger grasses require a little more effort to divide because of their robust roots and crown size. Dig or pry the clump out of the ground with either a sharp shovel or crow bar. Divide into pieces using a shovel, axe or chain saw. Make sure that each division has viable root growth.
Ornamental grasses add interesting texture, movement, height and long season colour to our gardens. They are an essential complement to shrubs, trees, perennials and hardscape in the Westcoast landscape. A little annual maintenance prepares your grasses for another wonderful show.