By Faye
Has your appetite for growing your own food expanded as mine has?
With the warmer weather these past few summers, harvests have been plentiful and deliciously sweet, but planting space had not kept up with my lust for more. I wanted more of what I’ve already grown, and more new crops as well.
Fall is a good time of year to take stock of your garden and decide if it’s meeting your needs. If not, make it happen. Building a new raised bed isn’t complicated, it’s simply a frame placed atop unused, weedy ground or even on top of lawn grass, in the sunniest spot you have. Cedar is the best material for this, but rocks would work, or even just a piled mound is fine. Don’t use pressure-treated wood. It should be at least 12 inches tall, with the bed no wider than 4 feet so you can reach from either side to weed and harvest. Once this is done, the rest is easy, fun and so rewarding.
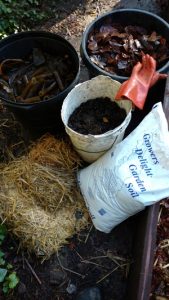
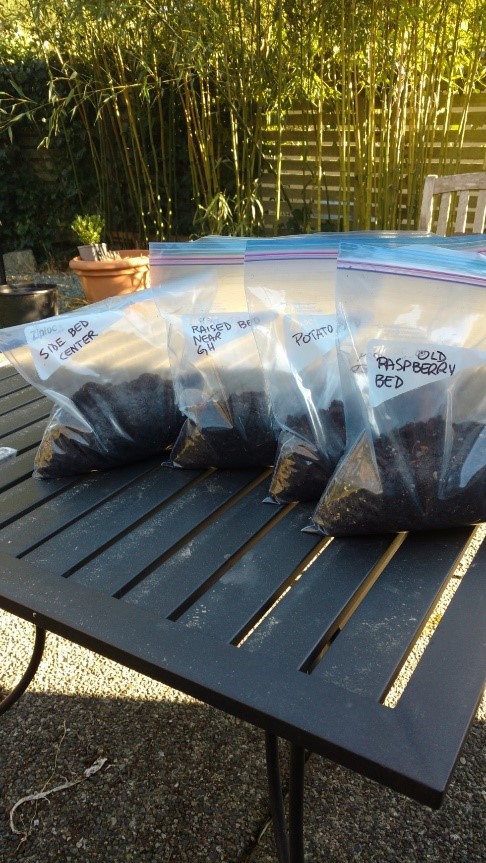
Raw materials at the ready
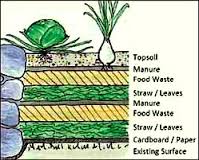
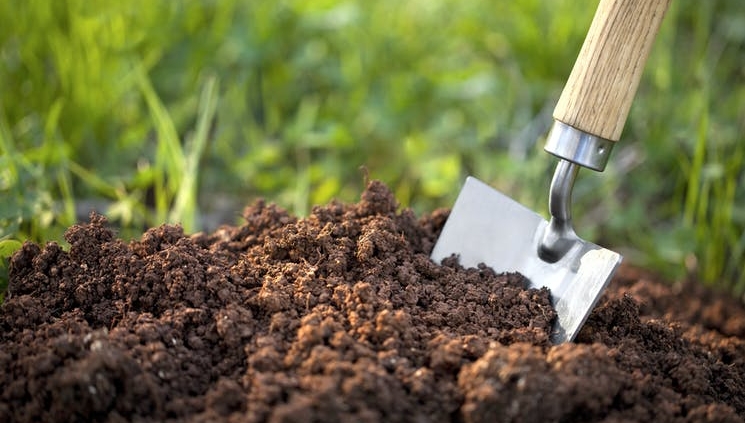
‘Lasagna Gardening’ was first coined in a book of that name by Patricia Lanza, and has become the natural way to build your own soil that is weed free, organic, with good tilth and rich in nutrients. It is moisture retentive and needs less fertilizer. Also called sheet composting, it’s simply a matter of layering organic materials which will ‘cook’ down to create the best soil you have ever crumbled between your fingers.
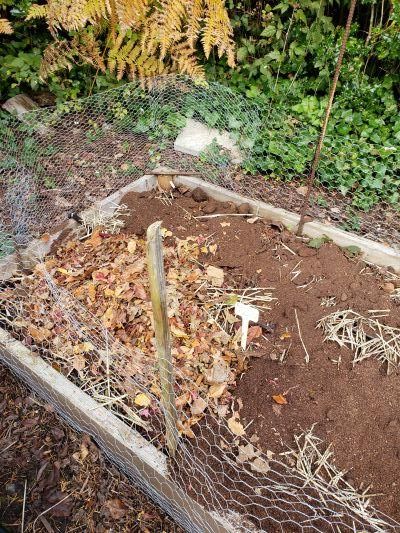
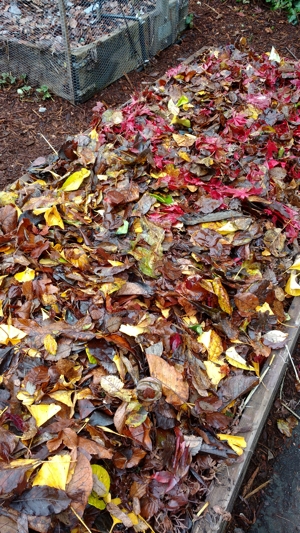
My layers started with about 7 sheets of newspaper, but cardboard is another option. This creates a moist and dark bottom layer that attracts earthworms, which will be your labour force to break down and aerate your new soil. On top of this I spread some of my own compost, then a good layer of leaves. This time of year falling leaves provide us with brown, red and gold bounty. It’s free, widely available, and oh so valuable, so get as much as you possibly can and layer it thickly.
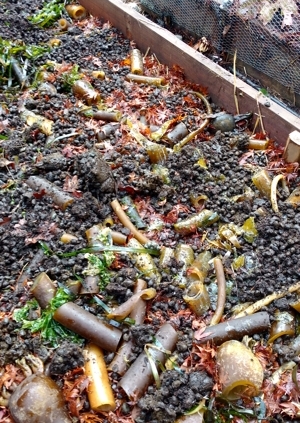
The alternating layers will be either ‘brown’ like leaves and straw or ‘green’ layers such as garden clippings, uncooked veggie scraps including eggshells and coffee grounds, manure and seaweed. Make your ‘brown’ layers about twice as thick as the ‘green’ layers.
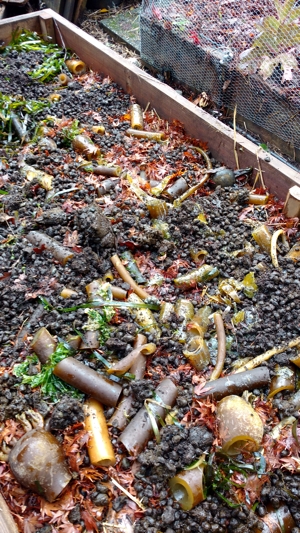
Manure and seaweed, now more leaves…
After the leaves, I joyously added a layer of llama manure, which I had shoveled into buckets as if collecting a treasure. Llama and sheep manure can be used ‘fresh’, although I tend to put these on the bottom layers only, due to the yuck factor. Well-aged cow, horse and chicken manure are also rich in nutrients and all the micro-organisms useful for breaking down the layers into good soil.
Then more leaves.
Giddy with pleasure, I headed to one of several beaches in my neighbourhood, and gathered a few buckets of seaweed. (I don’t rinse the seaweed; the rains wash away any residual salt.) Is there a better way to spend an hour or two in the autumn than at the seaside, with a root knife hacking up pieces of kelp?
NOTE: NEVER TAKE SEAWEED THAT IS STILL ATTACHED. ONLY TAKE WHAT HAS BEEN TOSSED UP IN A WIND STORM, AND TAKE ONLY WHAT YOU NEED.
Kelp meal is also available at the nursery, for those of us not up to the beach trek.
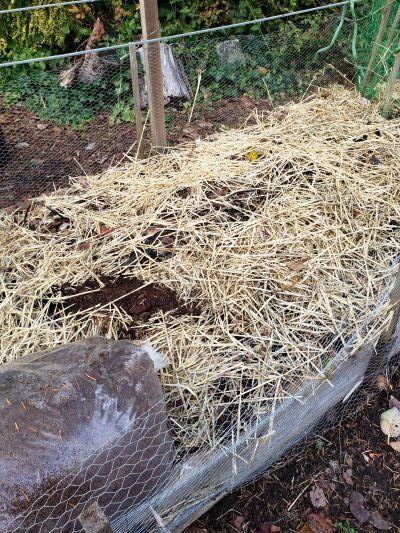
On top of the seaweed, I layered some straw (not hay!); I buy a bale of this every spring for around $11. and find it invaluable as a weed suppressant, slug deterrent and moisture retainer around my summer veggies.
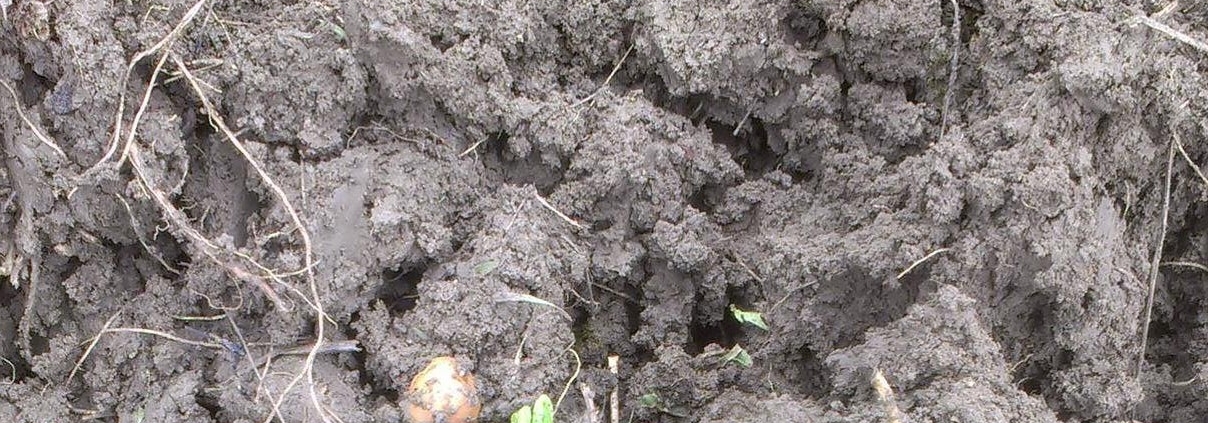
Ready to cook
Keep layering, repeating until the pile is about 2 feet tall, which will break down to about half that, and be ready for planting by spring. I always include some garden soil in the mix, and finish with a final layer of leaves, like the frosting on a cake. The layers you choose can be fairly flexible, it’s not a hard and fast rule that you must use the same things as I did.
While fall is the best time to build a lasagna bed, as the winter rains and frost help to break down the layers, I have also done it in the spring and just parted the layers to accommodate seedlings. Garden soil and finished compost are important if starting in the spring.
Lasagna gardening is less work because you never need to dig again, weeds are almost non-existent, and plants will almost grow themselves.
While I have enjoyed the lasagna method for vegetable beds, there is no reason to limit it to just veggies. For more flowers and healthier plants in all areas of your garden, get layering!