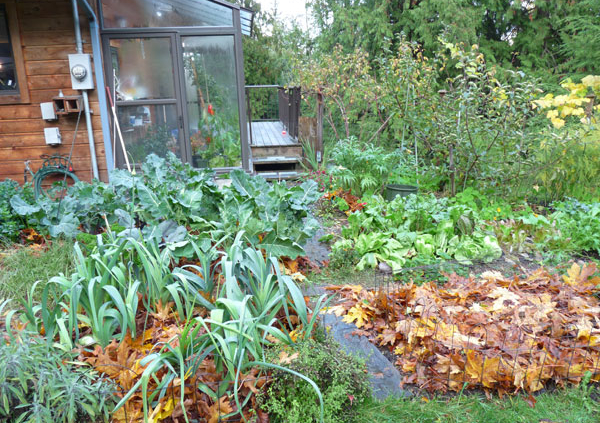
Spring Cleaning Ornamental Grasses
The basic rule of ornamental grass maintenance is to leave them standing over winter and don’t mess with them until they are actively growing in early to late spring. They don’t require much care, but will benefit from some annual grooming and spring is the time to do it. Most of the grooming involves cutting back, and when and how to cut back depends on the type of grass you have.
The first ones to cut back are the cool season, deciduous grasses, and these can be cut back to about 3 inches after temperatures rise above freezing. In Victoria gardens this usually means mid-March, when the new growth is just starting to show.
Cool season perennial grasses include Calamagrostis, Carex elata Bowles Golden, Deschampsia, Elymus, Millium, Molinia and Cortaderia.
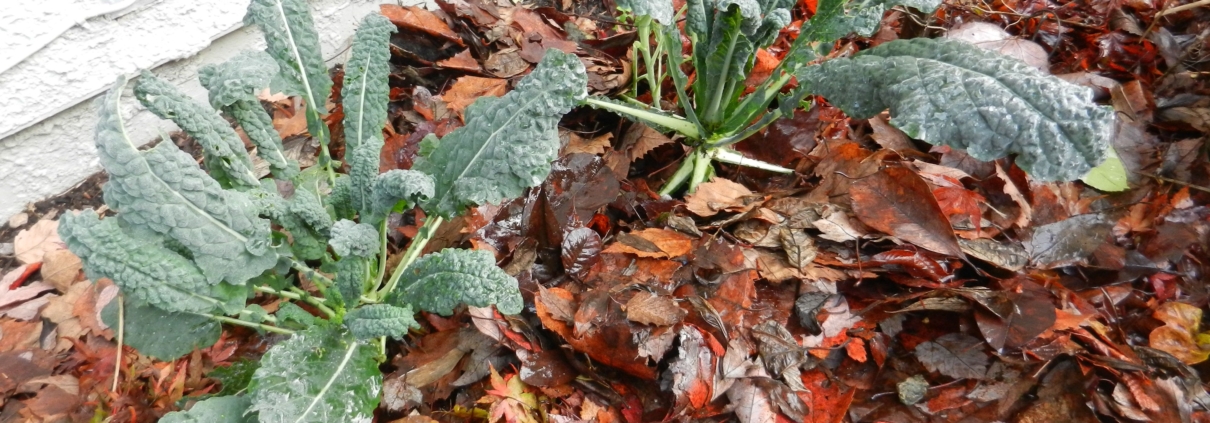
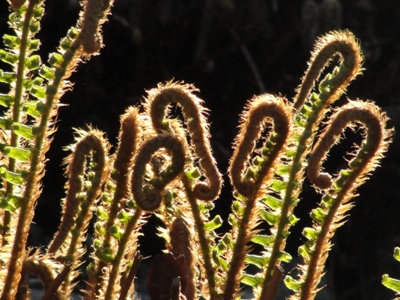
Hakonacloa Sprouting
Hakonechloa, Imperata ‘Red Baron’ and Chasmanthium are deciduous grasses that start to grow in early spring at which time all the old foliage can be cleaned up.
Cutting back of warm season grasses is not done until late spring, after any threat of frost has passed and before the new growth starts to show. Don’t wait too long to do this to avoid cutting the tips of the new growth with the old. Leaving the old foliage up too long can also delay the crown’s warming and growth by several weeks. All those lovely grasses that provided much appreciated buff-coloured winter structure in the garden need to be cut back to about 6 inches from the ground.
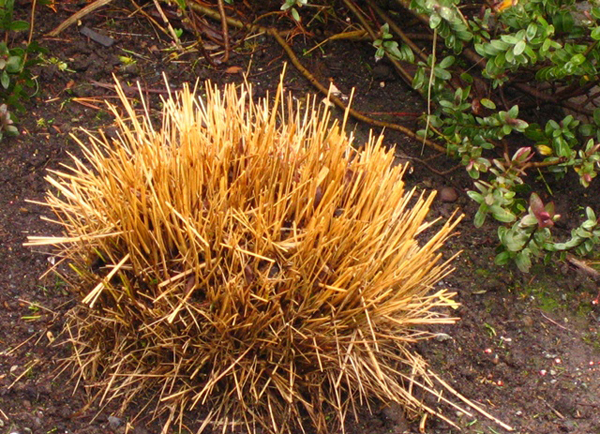
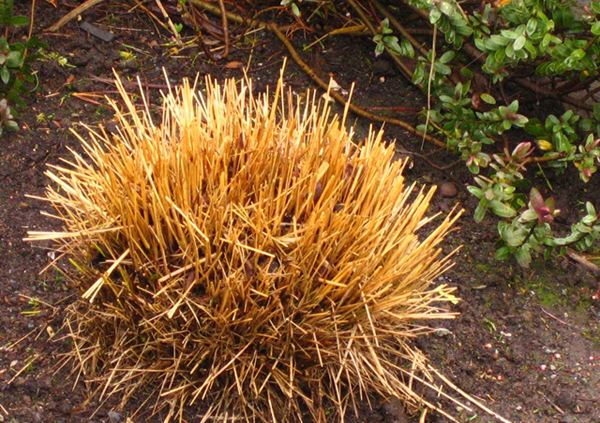
Sheared Grass
These grasses will gradually start to grow back in from their “hedgehog” look and then really take off with summer heat. A more rounded cut rather than straight across can give a more natural look when growing back in.
Warm season grasses needing this late spring hair cut include Miscanthus, Muhlenbergia, Pennisetums, Panicums, Spartina and Arundo.
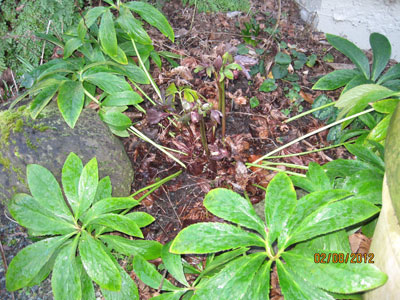
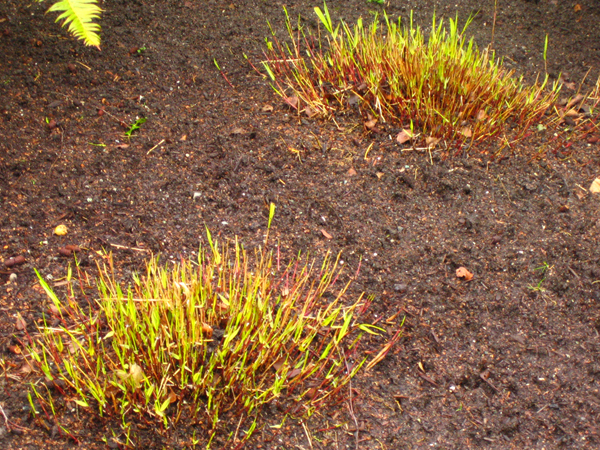
There are a few grasses that remain evergreen in our climate. For the most part the only grooming they need is combing. Carex, Fescue, Helictotrichon (Blue Oat) and Stipa usually refresh from a simple comb through with fingers or rake to remove the dead buff foliage which easily separates from the new growth in spring (this can be repeated in summer). Insert re-growing stipa
Some evergreen grasses start to look shabby after a few years or harsh winter and may actually require cutting back. The recommended time to do this is in late spring when the grasses are actively growing. And never cut too low to the base; always leave about one third of the foliage in place.
Anemanthele lessoniana (formerly Stipa arundinacea) (pictured here) seems to need a gentle hand and should be cut back to no lower than 6 inches. Broader leafed Carex ‘Ice Dance’ can be cut back to the ground and kept moist to refresh.
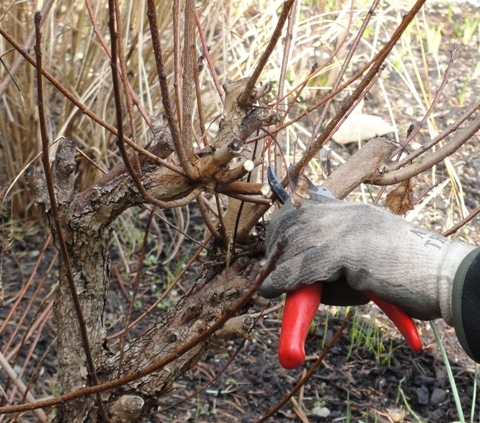
Handy tools for this job include gloves, a bungie cord for bundling, a tarp for gathering and a good saw or shears. A little spring grooming prepares your ornamental grasses for another wonderful show.