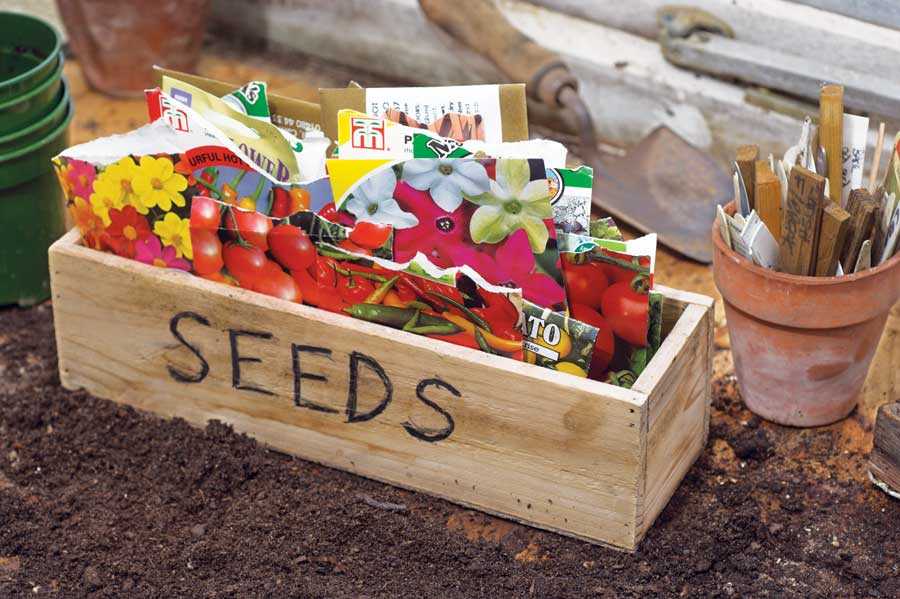
How Not to Kill your Seedlings

 By Faye
Killing your seedlings is easy, but so is growing them to become strong and vibrant young plants!
Whether you sow your own seeds or buy starts from the nursery, your seedlings will go through a vulnerable stage of babyhood, when you must meet their every need. Some simple guidelines and lessons learned along the way:
*Use a sterilized soilless seed starting mix when sowing seeds.
* Seeds need heat, seedlings need light. A heat mat and grow lights will be the single most effective investment you can make if you really want to get into seeding. Once the seeds germinate, keep light about an inch above the seedlings, and only turned on for 12-16 hours a day.
* Don’t over crowd. Use scissors to snip off excess seedlings if they are too close to separate.
* Once they have 2 sets of true leaves, start to fertilize. Use a weak solution of liquid fish or seaweed.
* Always water from the bottom. Your seeds will have been sown into a tray or cell-packs with drainage. Put these into a non-draining tray, add water to bottom tray, removing excess water after half an hour or so. Watering the top of the soil encourages damping off, a fatal fungal disease of seedlings. Watering from below also encourages roots to grow downward seeking moisture.
If you want to be extra kind, water with room-temperature saved rainwater or de-chlorinate your tap water by leaving it sitting out for a day or so before using.
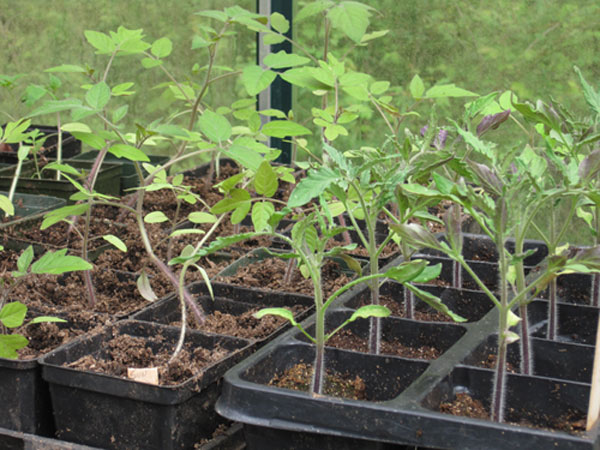
Tomato seedlings on right were moved out to greenhouse earlier than the ones on the left.
* Pot on! Don’t allow roots to become over crowded and tangled, move plants up to 4” pots. Hot-weather crops like tomatoes, eggplant and peppers will need to be started early yet moved to successively larger pots before planting out.
* Grasp by leaves only. Seedling stems are very fragile and easily damaged. If you need to separate seedlings that have been grown together in trays, tease roots apart gently with fork or fingers.
* Label everything! You think you will remember which flat is which, but you won’t. Trust me.
* Pinch back. When plants are 3-4” tall, with 2 or 3 sets of true leaves, nip out the top leaves to encourage branching, more flowers and fruit. Technical bit: plant hormone AUXIN is in terminal (end) bud, and causes vertical growth but suppresses side growth, so you want to interrupt this cycle. Don’t pinch back tomatoes!
* Rough ‘em up. Brush your hands gently over the tops of the little plants; this toughens up the cells and prepares them for the great outdoors.
* Harden off. Very important, the little plants need to be gradually acclimated to cold, wind, rain, sun. Direct sun can burn leaves if not properly hardened off.
Give them partial days in dappled shade, bring in for the night, gradually expose to more weather and more sun. A coldframe or cool greenhouse makes this transition easier, but be careful on sunny days.
 * Leaving the nest. When it’s time to move the seedlings to the garden, be wary of critters; slugs love the tender young shoots. Safer’s Slug Bait is my best defense, along with rabbit fencing of course. Checking after dark sometimes uncovers cutworms too, be vigilant.
* Label everything! Did I mention this already? Knowing the variety and date you planted is helpful when planning next year’s crops. Many good growers maintain a notebook listing plants, date seeded, when planted out, and result.
* Enjoy the harvest!! You’ll be glad you got your babies off to a good start, and they will thank you with delicious produce.


