Putting the Garden to Bed, Lasagna Style!
By Faye
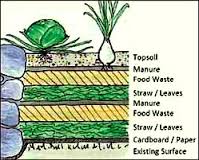
With shorter days, colder nights and the last glorious fall colours fluttering to the ground, my veggie beds are tucked in for their winter sleep. Most of us know about ‘lasagna gardening‘ (just Google it) for building new beds but I decided to use this method to give my hard-working soil an extra treat this year.

1. Lime and straw
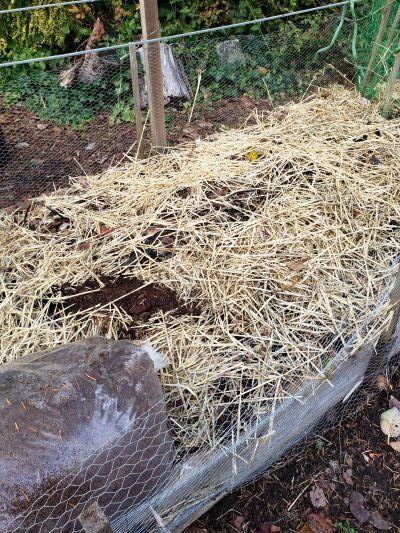
After emptying out the remnants of summer bounty, and working around the areas still laden with carrots and beets, I limed the soil then topped the empty beds with a layer of straw.

2. Manure and leaves
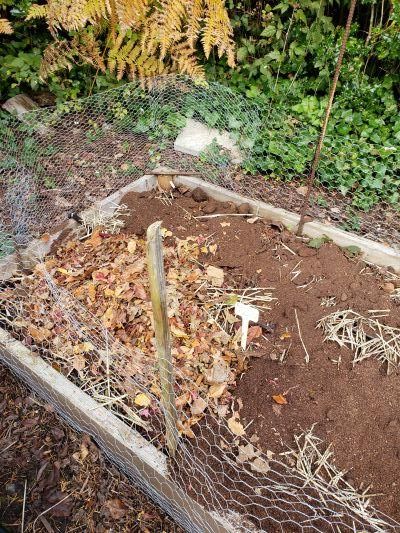
My first ‘green’ layer was well-aged chicken manure from Firbank Farms on Island View Road, then for the ‘brown’ ingredient, I added a thick layer of precious leaves. Lasagna gardening focuses on alternating layers of ‘green’ (nitrogenous) with thicker layers of ‘brown’ (dried, carboniferous) amendments.
On top of the leaves, I put a 2-3″ layer of my own freshly dug compost. Having been too busy to dig it last spring, I left it and the summer warmth produced my best compost ever! Yes, good black compost is considered ‘green’, as is manure.

3. Top with compost and leaves
With a final, generous frosting of more autumn leaves, my soil beds are now piled higher than the raised beds themselves, but the army of microorganisms, earthworms and their friends working beneath the surface will have this digested and shrunk down by planting time in mid-spring. What isn’t broken down by then will provide extra humus and help keep the soil moist all summer.

4. Bed ready for its winter sleep
I anticipate much gratitude from my newly-restored soil in the form of bountiful crops next year.
*NOTE: If you didn’t get to do this yet and winter arrives, save those leaves and start layering in the spring! It’s never too late. If done in spring, consider adding some topsoil so you can just plant right into the layers.

