Seven Ways To Grow More Food In Less Space
By Faye
Having a small garden is no reason not to have generous harvests of your favourite fresh vegetables, all year long. There are many ways to boost production, and get the most out of whatever little plot of land you may have, even if it’s just a few pots on the patio!
 The one question we get asked frequently is “what should I grow?” Frankly, there is only one answer to this: grow what you enjoy eating. It’s that simple. If you don’t like kale, don’t grow it just because it’s the ‘in’ veggie!
By following a few simple guidelines, you too will have an abundance of nutritious and delicious vegetables from your own back yard.
1. Grow successfully. Firstly, the more sun the better.
Secondly, grow in soil that promotes high yield, and your harvest will be bountiful. “Feed the soil, and the soil feeds you.” Healthy, fertile soil with lots of organic matter, and well-balanced fertilizers produce the best crops. We like to use organic fertilizer blends, with the addition of liquid seaweed and fish.
Thirdly, do your best to keep your crops free of pests and disease. Pests are like the hyenas in the Serengeti, they prey on the weak and lame; so make your plants the strong ones! Insect netting will protect crops from the worst scourges such as carrot rust fly, cabbage moth, and other predators
2. Plant successively. As soon as one crop is finished, plant another in that space. Keep the ground productive, moving quickly from one crop to another. This can mean planting a later vegetable along with an early one. The later one starts off small, then by the time the early one is finished and pulled out, the later one can take over that spot.
Right now, you can sow radish, arugula, spinach and peas. (See: Peas In Particular!) The spinach will bolt by late May with lengthening daylight hours, but you will have enjoyed the baby leaves all spring. This space can be used later for your main season crops such as tomatoes, cucumbers, and squash.
Sowing successively is a little different, it’s just sowing as many seeds as you need for now, following up with more a couple of weeks later. By doing this you will ensure a continuous supply of young and fresh plants, rather than more than you can eat at one time.
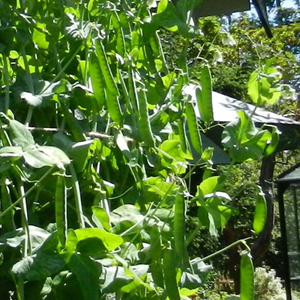
3. Grow Vertically. Plants sprawling on the ground take a lot of space. Many plants are happy to grow up a trellis, netting, fence, or other support, saving much needed space on the land. Yields are higher, due to less wastage (rotting on the ground), better pollination, increased air circulation so less disease, and the beneficial insects have easier access as they dine on aphids and other troublesome pests.
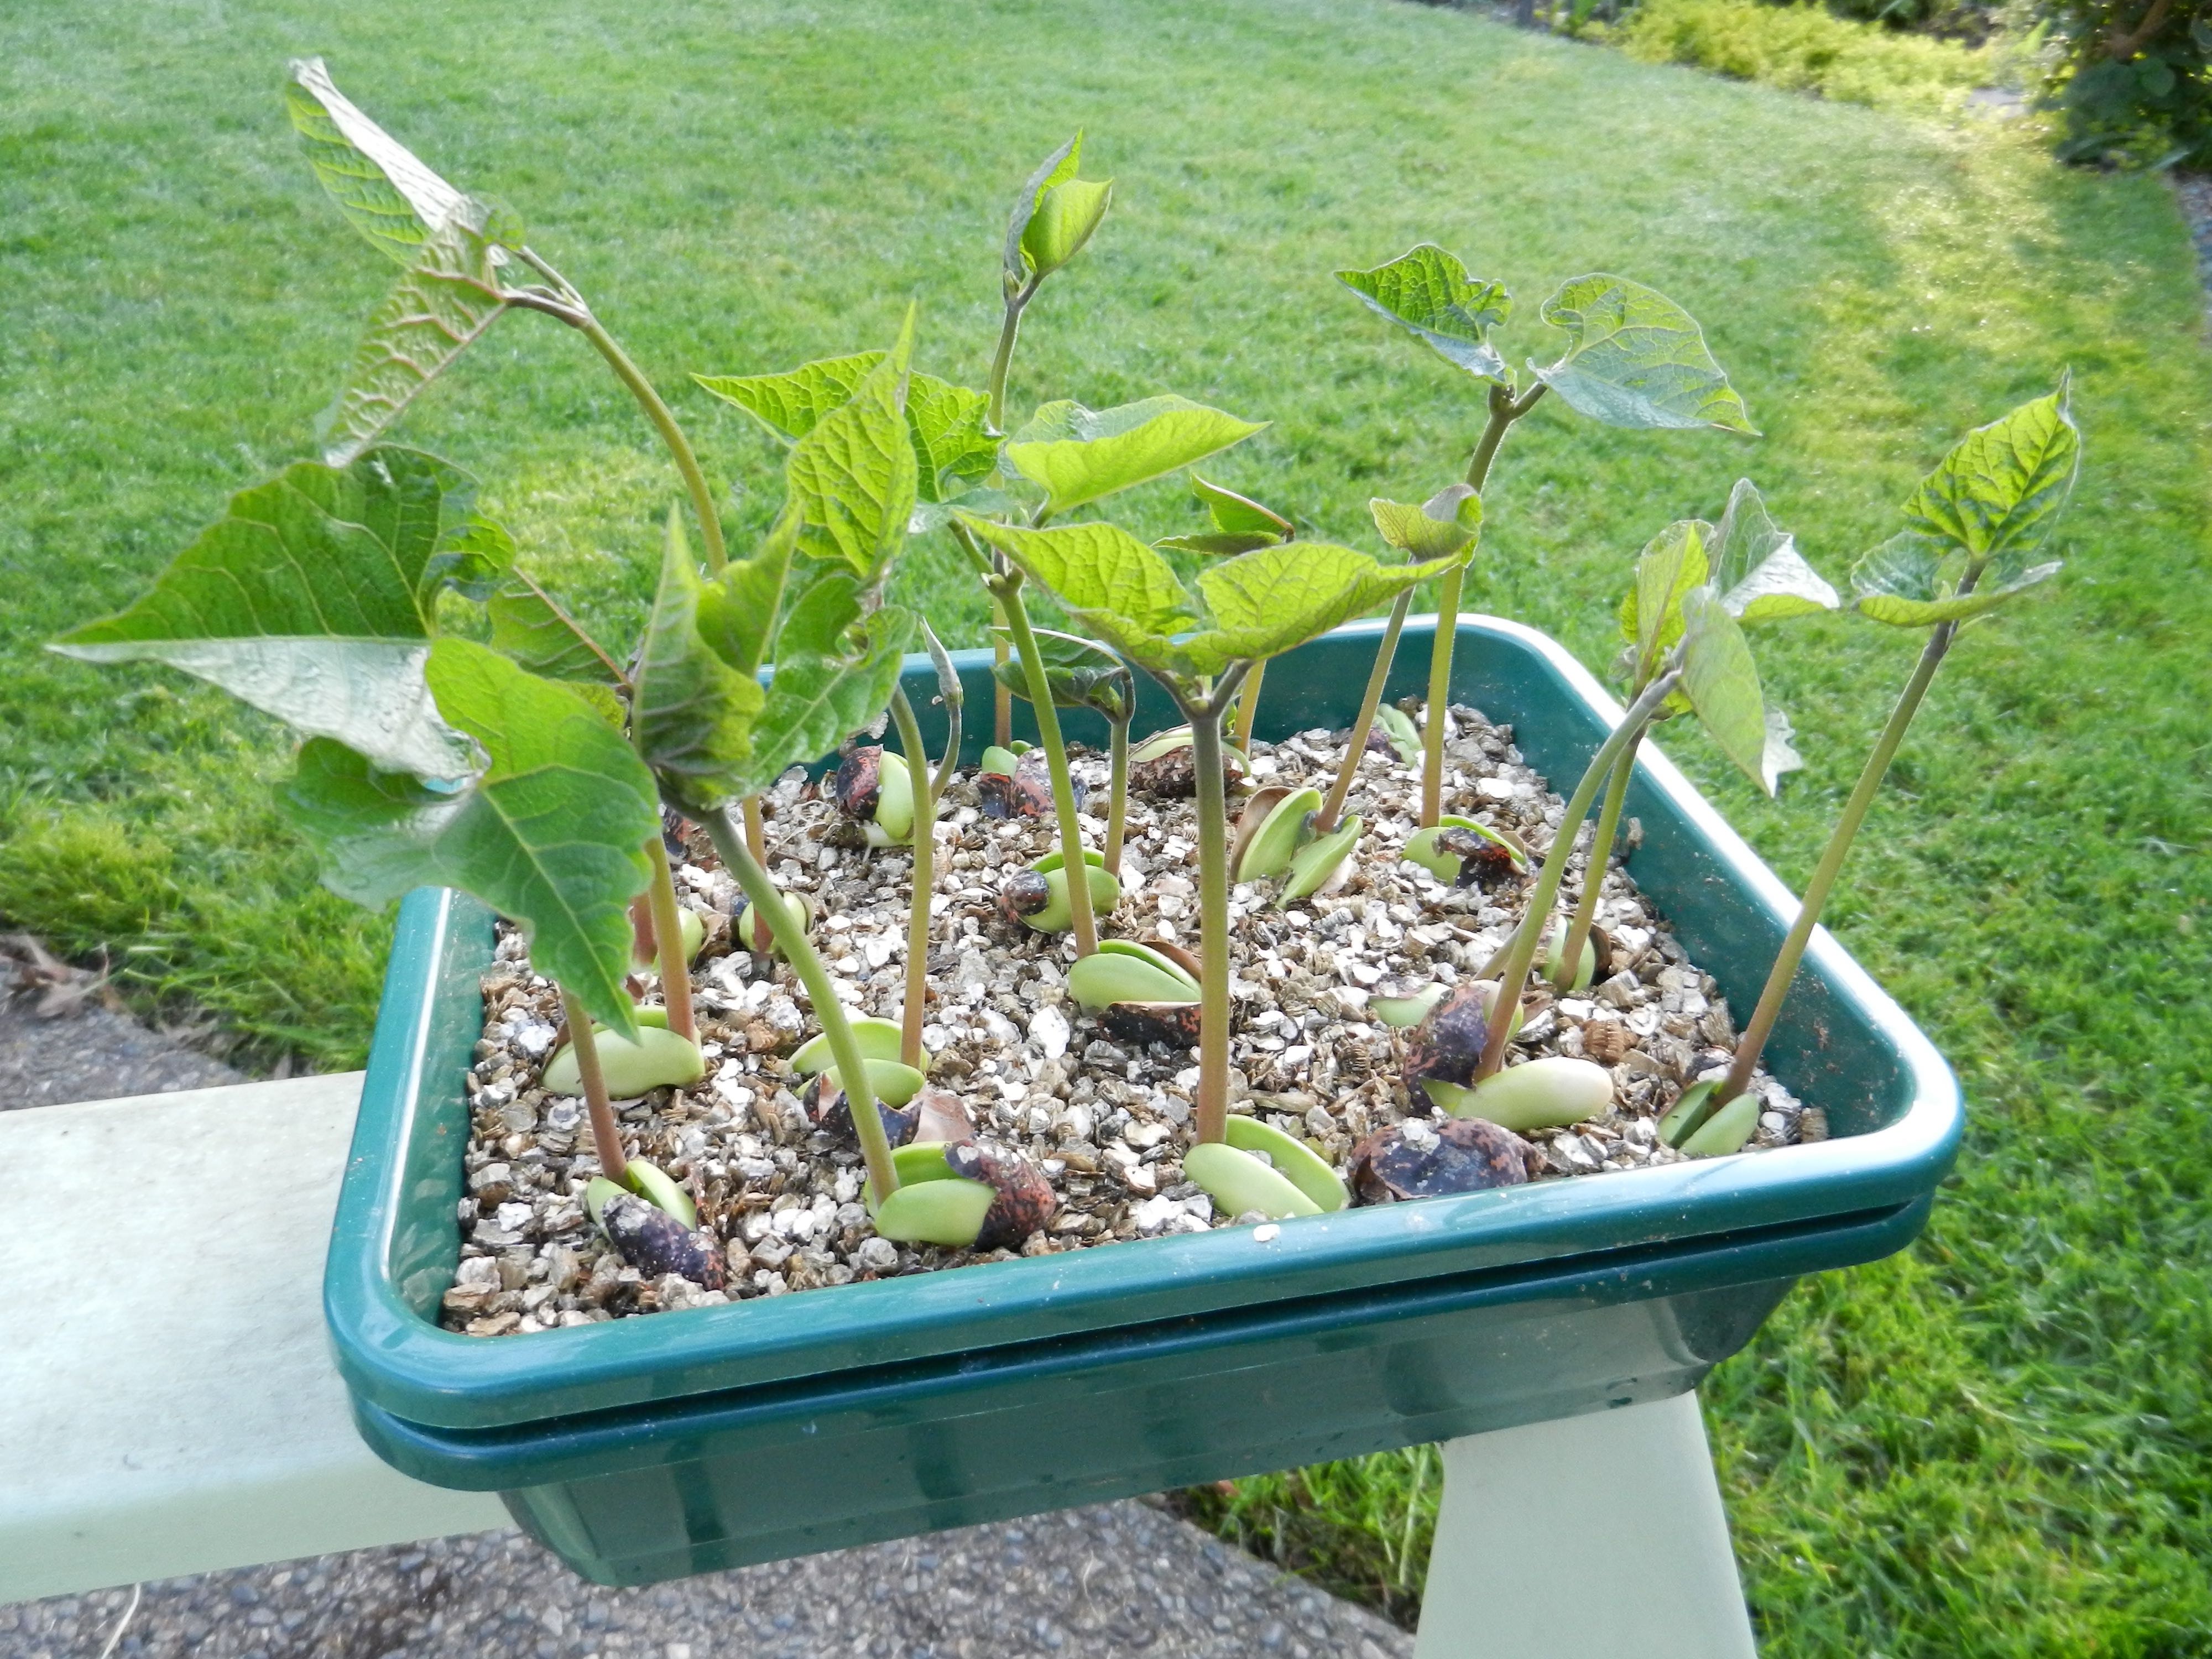
Vertical growing works for tomatoes, cucumbers, squash, peas and pole beans. I have found that growing Pole Beans rather than Bush Beans gives me more beans over a longer period, saving space as well.
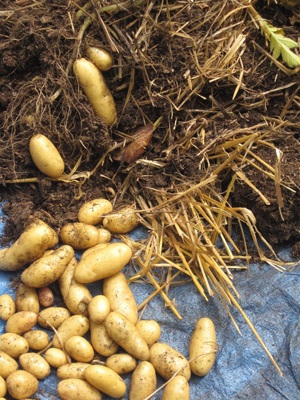
4. Grow in Containers. This is a vast subject, and there are both positive and negative points with container growing. In a container you must be very careful to give adequate food and moisture to your plants. Soil must be excellent, with lots of organic matter. Drainage must be perfect. Having said that, any vegetable that can be grown in the ground can be grown in a container, if it’s large enough.
I grow potatoes in huge tubs, and even raspberries are in a large wooden container; they surely have rooted right through to the ground by now. Containers can be placed anywhere you have the best sun exposure, even atop a large rock! They are easy to weed, and entail less bending and reaching to access your crops. Raised beds are actually a form of container, and are probably the very best place to grow veggies.
5. Interplant. Smaller crops can be planted in and amongst the larger ones. Plant a few radishes beside the tomatoes or in front of the peas. Plant lettuce between the rows, they will appreciate the shade cast by their taller neighbours. Later in the summer, small starts of winter crops can be inter-planted with the main crops. A cover crop of Corn Salad, sown for winter, is happy under the spreading leaves of the squash. Let no space go unplanted!
 6. Square Foot Gardening. This is a wonderful concept that works especially well in raised beds and large containers. Who really needs to waste the space on pathways between rows? Plant in blocks, and it’s surprising how much food can be grown in a 4’ square plot of land. Check this link for more information. There are many sources for information on this topic, and the library usually carries the original Square Foot Gardening book.
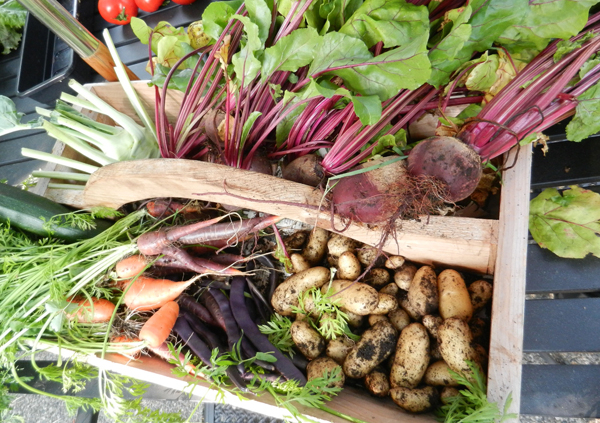
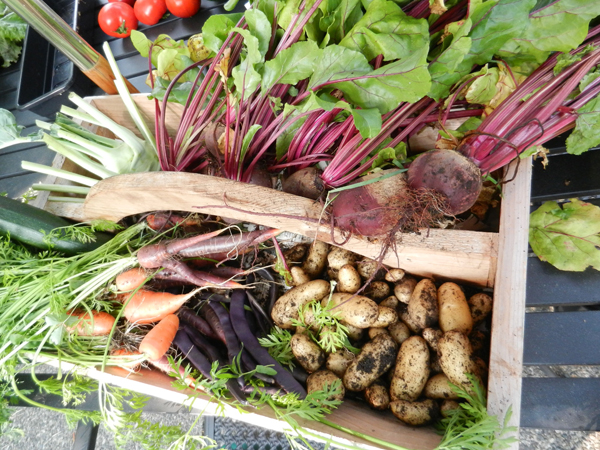
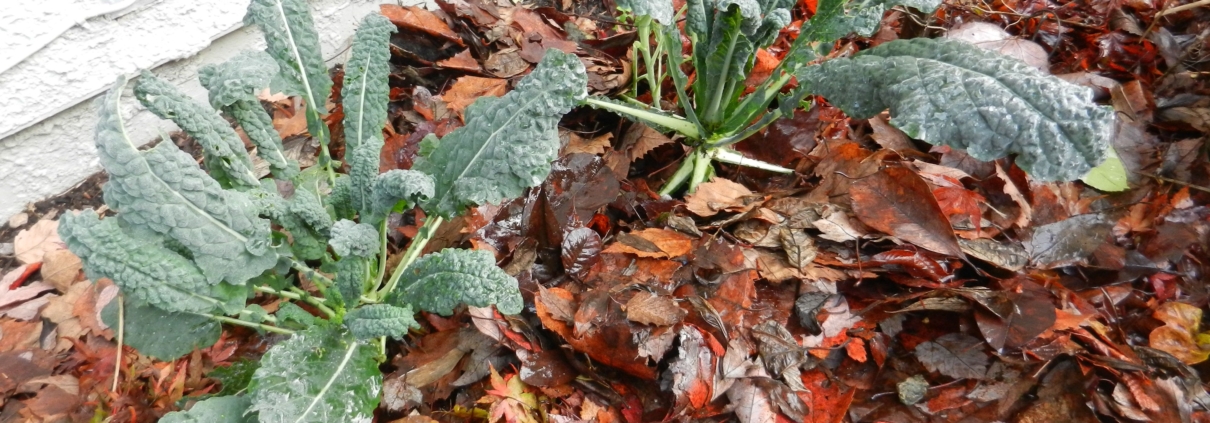
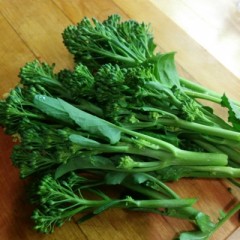
7. Grow all Year. This may be the best tip of all. Winter veggie growing is so easy: no watering, no weeding, and few pests. The joy of harvesting fresh carrots, leeks, beets, kale, spinach and broccoli all winter long cannot be over stated.

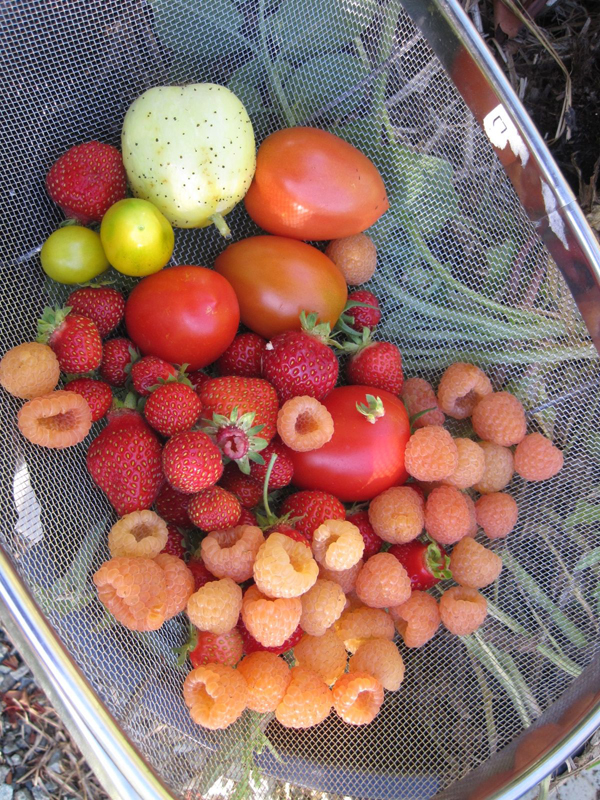
Veggie Harvest For February Dinner
The main thing to know is this: winter crops must be planted when summer is at its peak, so garden planning now should include where to put them. Remember too that if planting for winter, it’s a longer season of eating; plant lots! My carrots and beets planted in May are still being harvested now, although with the coming of spring they will soon start to form seed so I must get them out soon.
As always, I am grateful to Linda Gilkeson for her vast knowledge, and helpfulness. Her very informative books are available at the nursery, library, and book stores everywhere.
With the longer days, increased sunshine and warmer temperatures, we are all getting the bug to start growing. So let’s make it the best harvest ever!