What to Do Now with Winter Veggie Beds?
By Faye
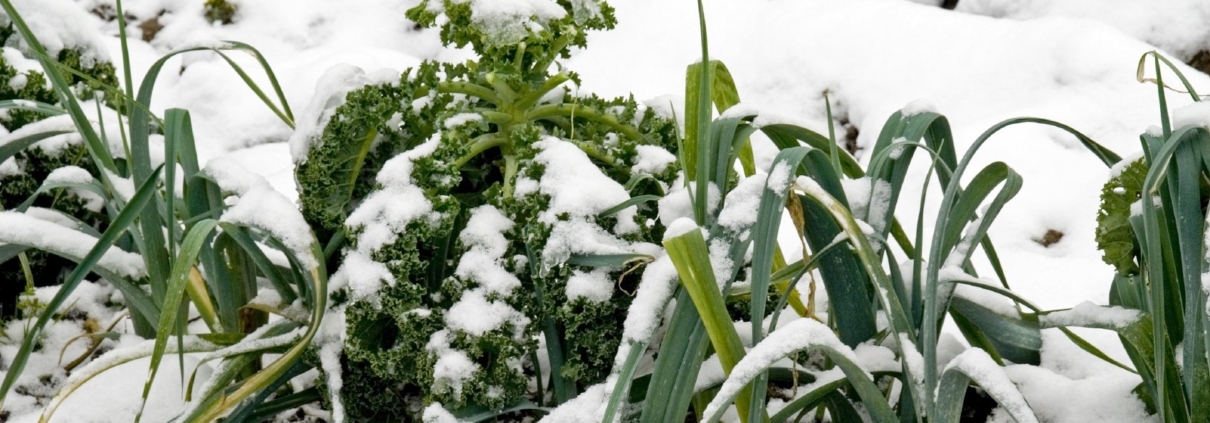
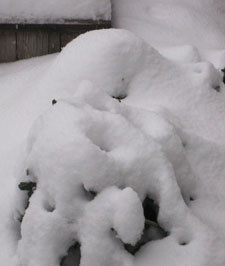
If you, like me, are admiring your nicely established winter crops in the garden, then it’s worth the little bit of time it takes now to make sure everything stays healthy throughout the cold season. Mulching and some staking are needed to protect winter crops from the elements. It’s been a while since we’ve seen snow, but who knows what this winter will bring. Read on for details…
Winter rains are a welcome sight as our parched ground absorbs the needed moisture, but pounding rains are hard on the soil. Protecting the soil from erosion and leeching is very simple; just add a 6” top dressing of fluffy autumn leaves. This also prevents the splash-up of soil onto your plants, helping to keep them disease-free, in addition to giving some protection from slugs.
Purple sprouting broccoli is tough but it would be flattened if not staked
Don’t waste your compost; leave it in the bin, covered and relatively dry, to await spring warmth which is the wake-up call to the micro-organisms to start their work of digesting the organic waste, converting it to usable plant food. Spreading it on the garden in fall results in its goodness being leeched out and washed away in the rain.
Stake your brassicas. While kale and other brassicas are very hardy, they do tend to be brittle, while purple sprouting broccoli and Brussels sprouts are top heavy. A very sad sight is a tall vegetable toppled over in the wind, when it’s so easy to protect with a sturdy stake or two.
Watch out for caterpillars (still!) I neglected to net my Brussels sprouts with ProTekNet, and you can see the results here, the fat cabbage worm has been feasting. If you haven’t done so already (ideally in September), be sure to pinch out the top cluster of leaves, stimulating formation of the sprouts all along the stem. Leave the plants in the ground, and harvest sprouts as needed after frost, when they will be at their sweetest.

Cabbage worm feasting!
Protect your shoulders. There is nothing better than pulling fresh carrots and beets during the winter, but if the shoulders get frozen they can turn to mush. When cold weather arrives, having a few inches of leaves in the bed will insulate the roots, and when it does get below freezing it’s easy enough to pull the leaves up and over the shoulders of the vegetables, especially the cylindrical beets which tend to push themselves up and out of the ground.
Stockpile mulches. Gather as many leaves as you possibly can; rake your own, take bags from the road side, do what you can to have a vast supply. Keep some for next summer in a plastic bag to keep them dry, adding to the compost alternately with layers of green. Put some in bins to decompose into leaf mold, truly black gold.
Lime the empty beds so they will be ready to plant by spring. While this can wait until spring, why not get it started now? Keep track of what beds you lime, and when; this needs doing only once a year, and never in beds that will be used for strawberries or potatoes.
Spinach and Chard have softer leaves, and can do with some winter protection during heavy rains and colder weather. I grow both in the greenhouse, but a tunnel or cold frame give protection from harsh conditions.
Plant garlic. Fall is the best time to plant garlic so the roots are well established for bulb growth in the spring.
Sit back and let Mother Nature do your watering, but keep an eye out for critter predation, slug damage, and extremes of temperature. Eat your veggies!

